
How to Create Your Vision Board
Step 1: Define your goals and dreams.
If you have already written down your goals and dreams, that's great. If not, take action and start brainstorming. All you need is your imagination, a pen, and a piece of paper.
How do we want our future to look like? What motivates us to get out of bed and into action?
Do you need guidance or inspiration working on your dreams and goals? YouTube and Google are excellent sources of inspiration. Don't put any limits on yourself. Let the mind wander and flow freely.
Step 2: The essentials needed to create your vision board.
We must first decide whether to create a physical or a digital vision board.
To create our vision board, we need the following essentials:
A Bristol board.
Scissors.
Glue stick or tape.
If we choose to create a digital version of our vision boards, these apps might be worth checking out:
Canva.
DreamItAlive.
Vision Board.
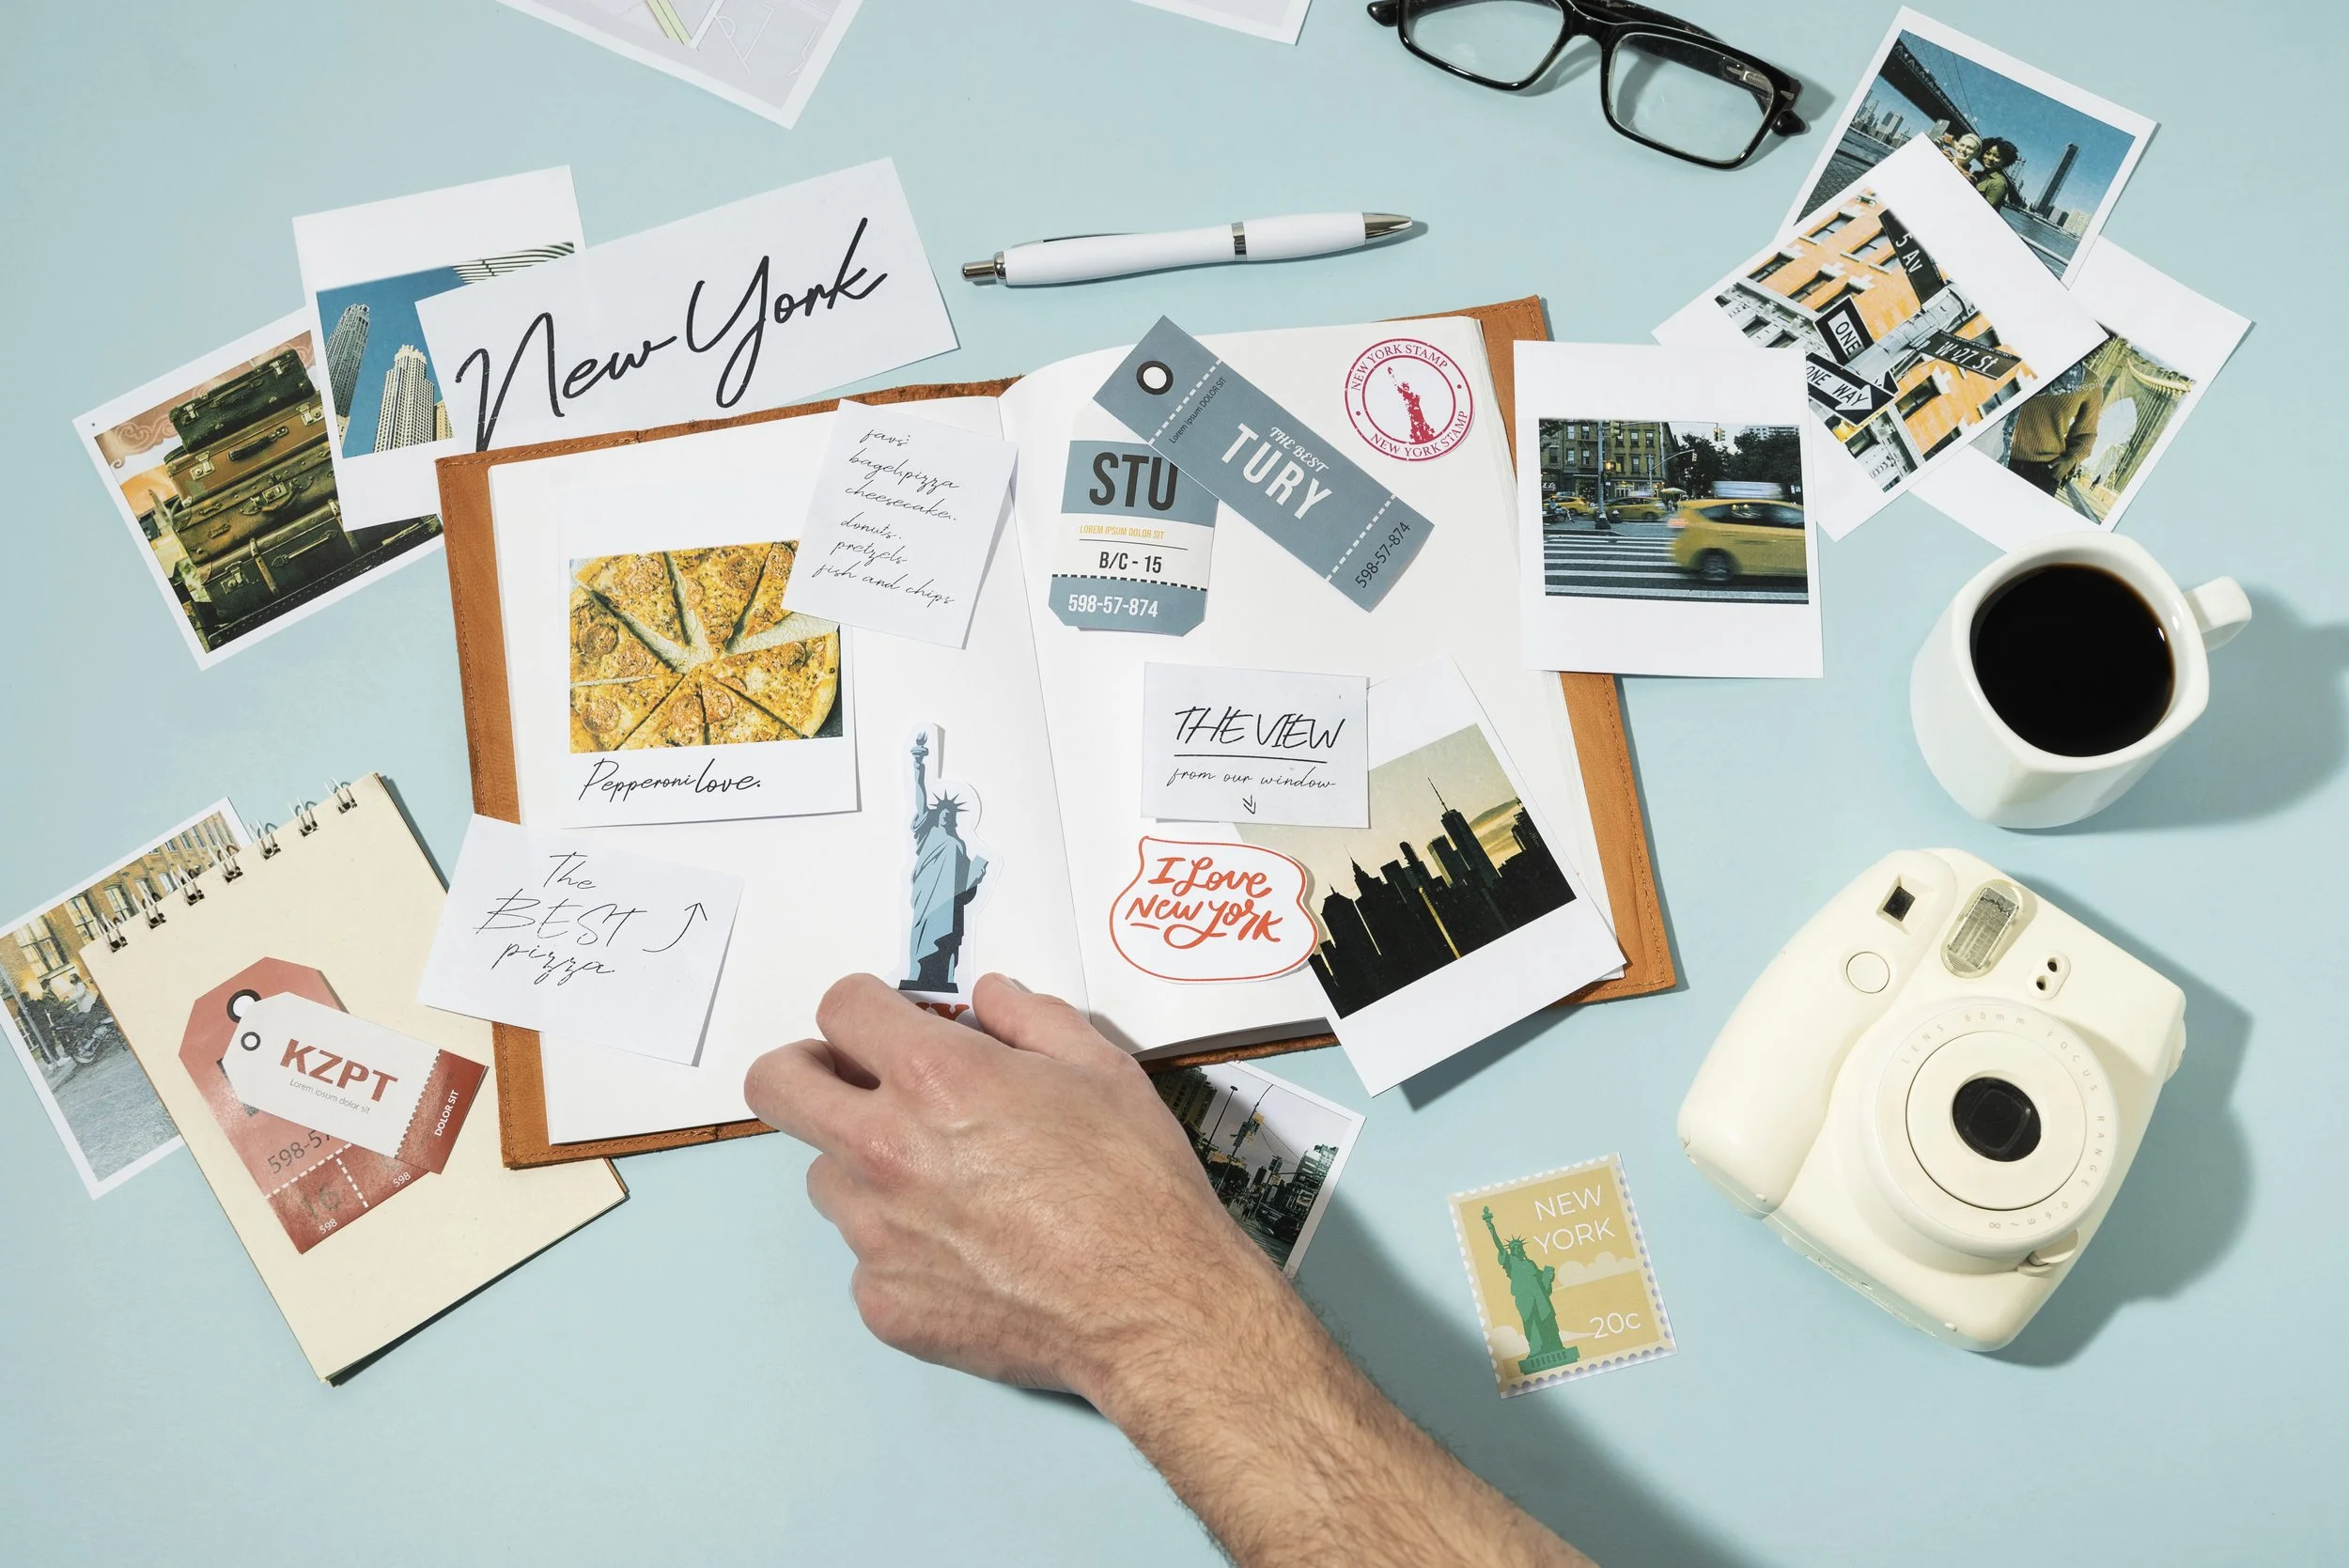
Step 3: Prepare your images.
The next step is to find images that illustrate our dreams and goals. The images should be in colors to make our vision boards more appealing. Valuable sources for finding images can be magazines, Google, Pinterest, or Instagram, as Linda mentions in her YouTube video.
Play around with the sizes of the images to make them fit smoothly.
We can personalize our vision boards by adding our names, giving them additional ownership.
Step 4: Putting the puzzle together.
I suggest organizing the images on the Bristol board to ensure they fit before applying them. It will minimize the risk of starting over again and wasting materials. Also, provide enough space for the timeline and a description for every picture.
When you have ensured you're satisfied with the result, start attaching the images if you've chosen to create a physical vision board. The final touch is adding the timelines and a description to all photos.
The vision board is ready to be framed or hung on the wall. Whether you created a digital or physical version, ensure an easily accessible location.